
This post is not for the faint of heart (or stomach). It features images or descriptions of handing meat and animal bones.
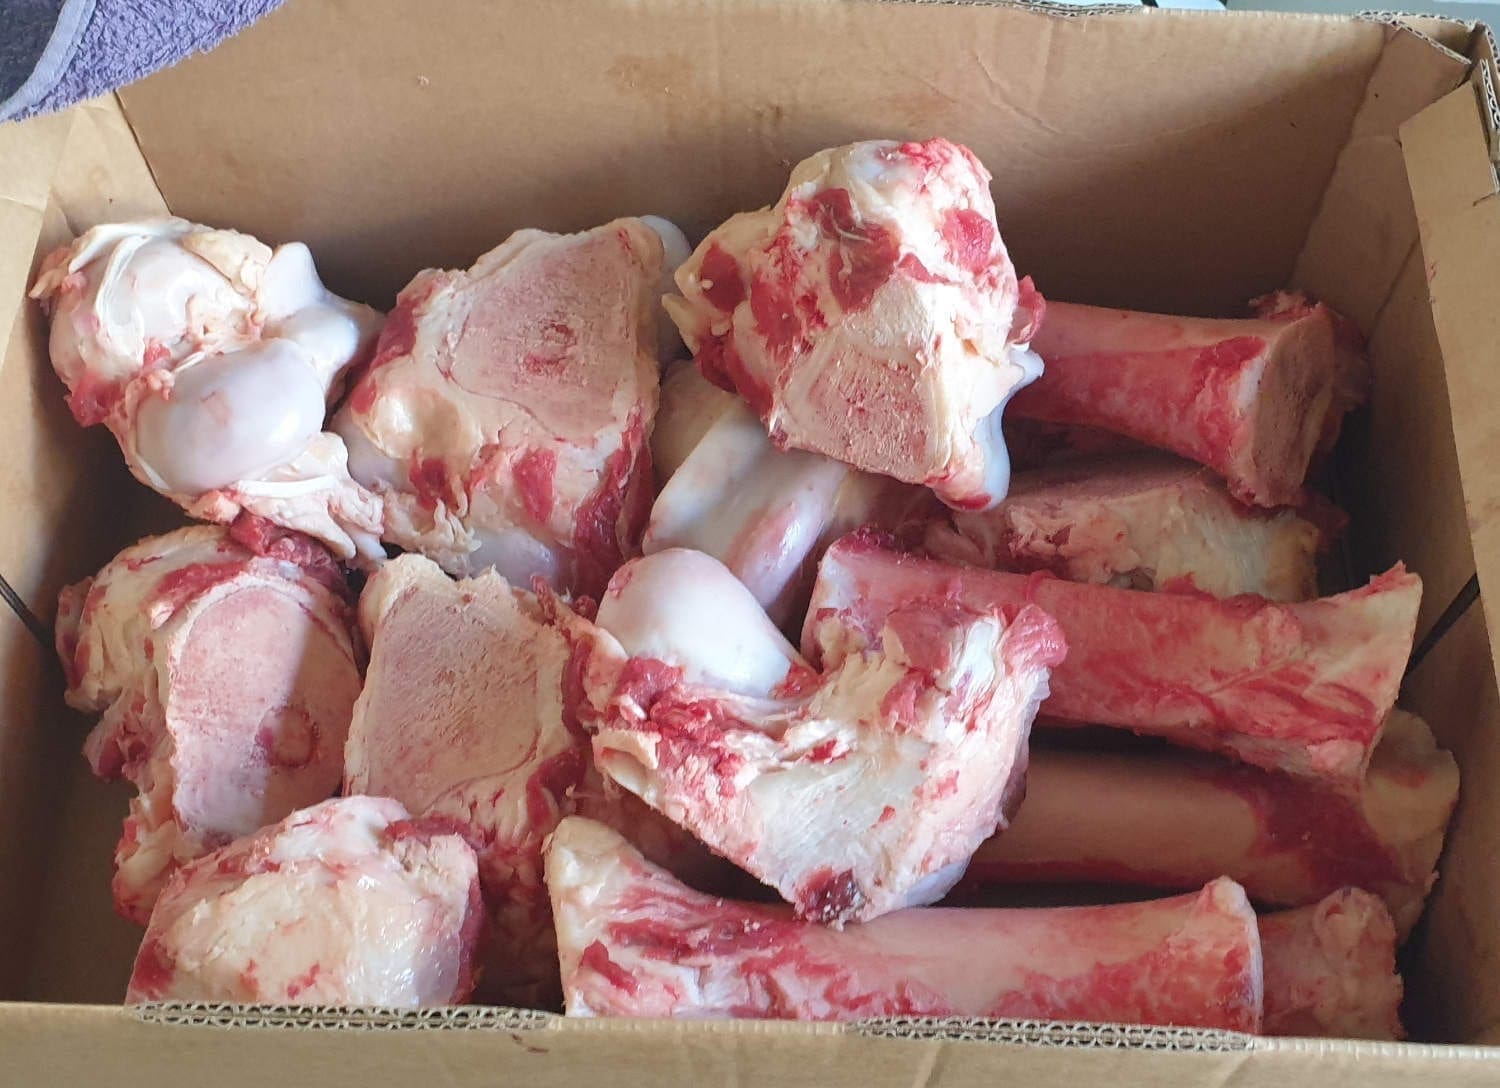
Before you start preparing your bones you need to know what to ask for and where to get them. I get my bones from a local butchery, it’s best to call ahead and ask if they have what you’re after. Cannon bones are what you are wanting as they are generally the thickest bone in the cow. Butcheries often sell them as dog bones. The clean up is easier if you get the butcher to remove the large knuckle ends of the bone while you’re there, it’ll save you some hard work later on.
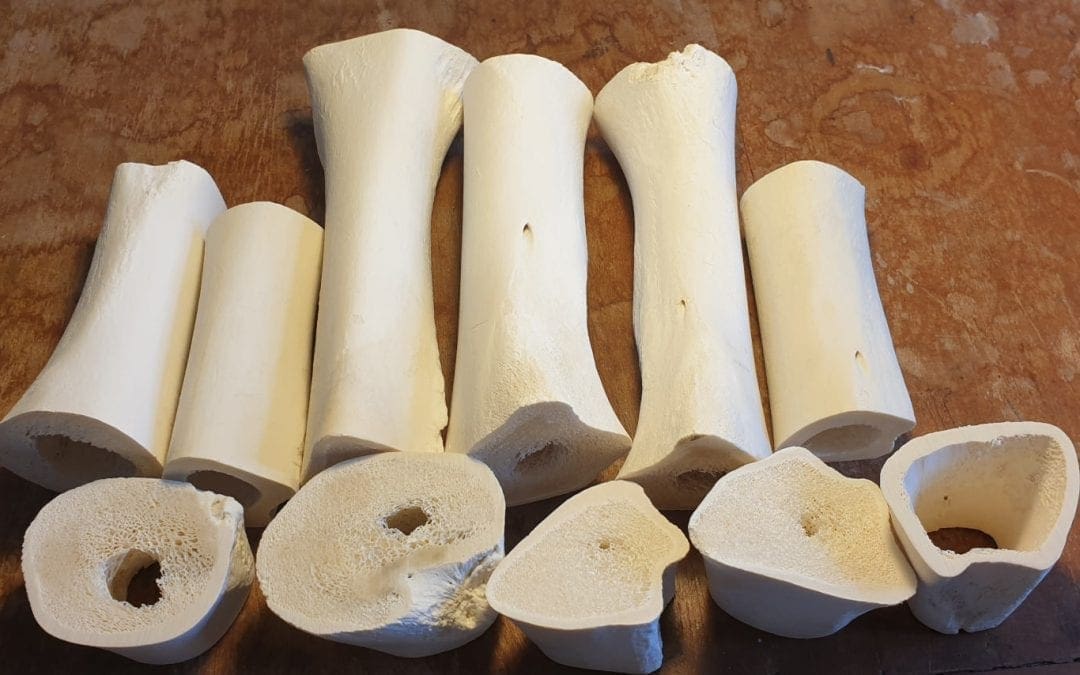
 Cannon bones fresh from the Butcher
The first step in preparing the bones is to scrape off all of the meaty flesh. They don’t have to be fully scraped clean, I always find some sinew they is very hard to remove until later on. If you aren’t wanting to keep the trabecular bone (fibrous bone from the core of the bone) then you can scrape/cut away this bone allowing you to remove the marrow. To me removing the marrow is the worst part of the whole process, it’s very goopy, poppy and greasy. With the work I am making I want to preserve this bone and use it as a material for my making. For me, i remove the marrow as best i can whilst leaving this part intact until later. While the bones are cool the marrow is firm and melts when you introduce heat. I like to gently simmer my bones to allow the marrow to soften until i am able to push it out of the bone with a skewer.
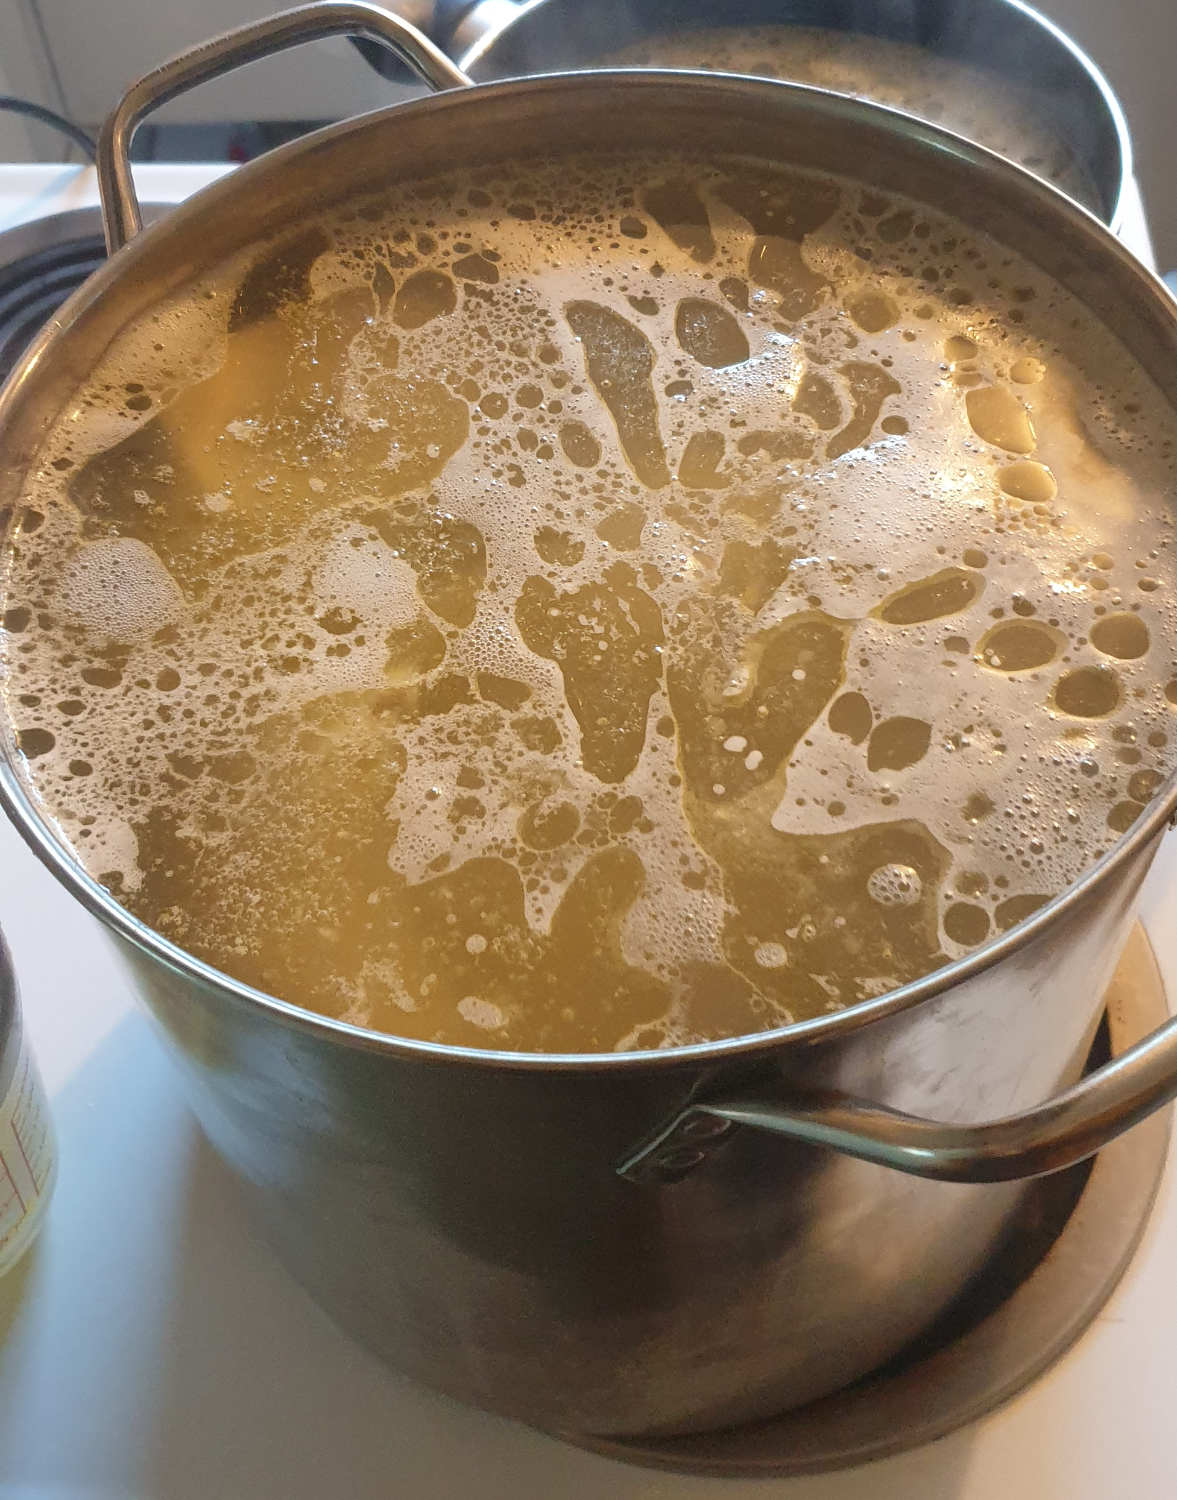
bones simmering on the stove, lots of oil being released.
I then saw about 4 inches off of each end. The middle of the bone is smooth whilst the ends have the trabecular bone. With these ends removed it allows us to get fully through the middle portion of the bone and clean it thoroughly.
The main aim of preparing bones for carving is to remove all of the oils from the bone. If this is not done the oils will go rancid and stink to high heaven. It can also seep out of the bones as you are working on them, melting the oils out of the bone when friction is used.
Once all the ends are off of the bones i gently simmer the bones with a little dish washing liquid (it helps to remove the grease). I alternate between simmering the bones and scraping off all of the remaining sinewy debris. I use pretty much whatever works to remove the sinew, knives, wire brushes, carving tools whatever will fit the crevice you’re cleaning. Alternatively you can leave the bones to soak in a mix of washing powder and water until they are clean.
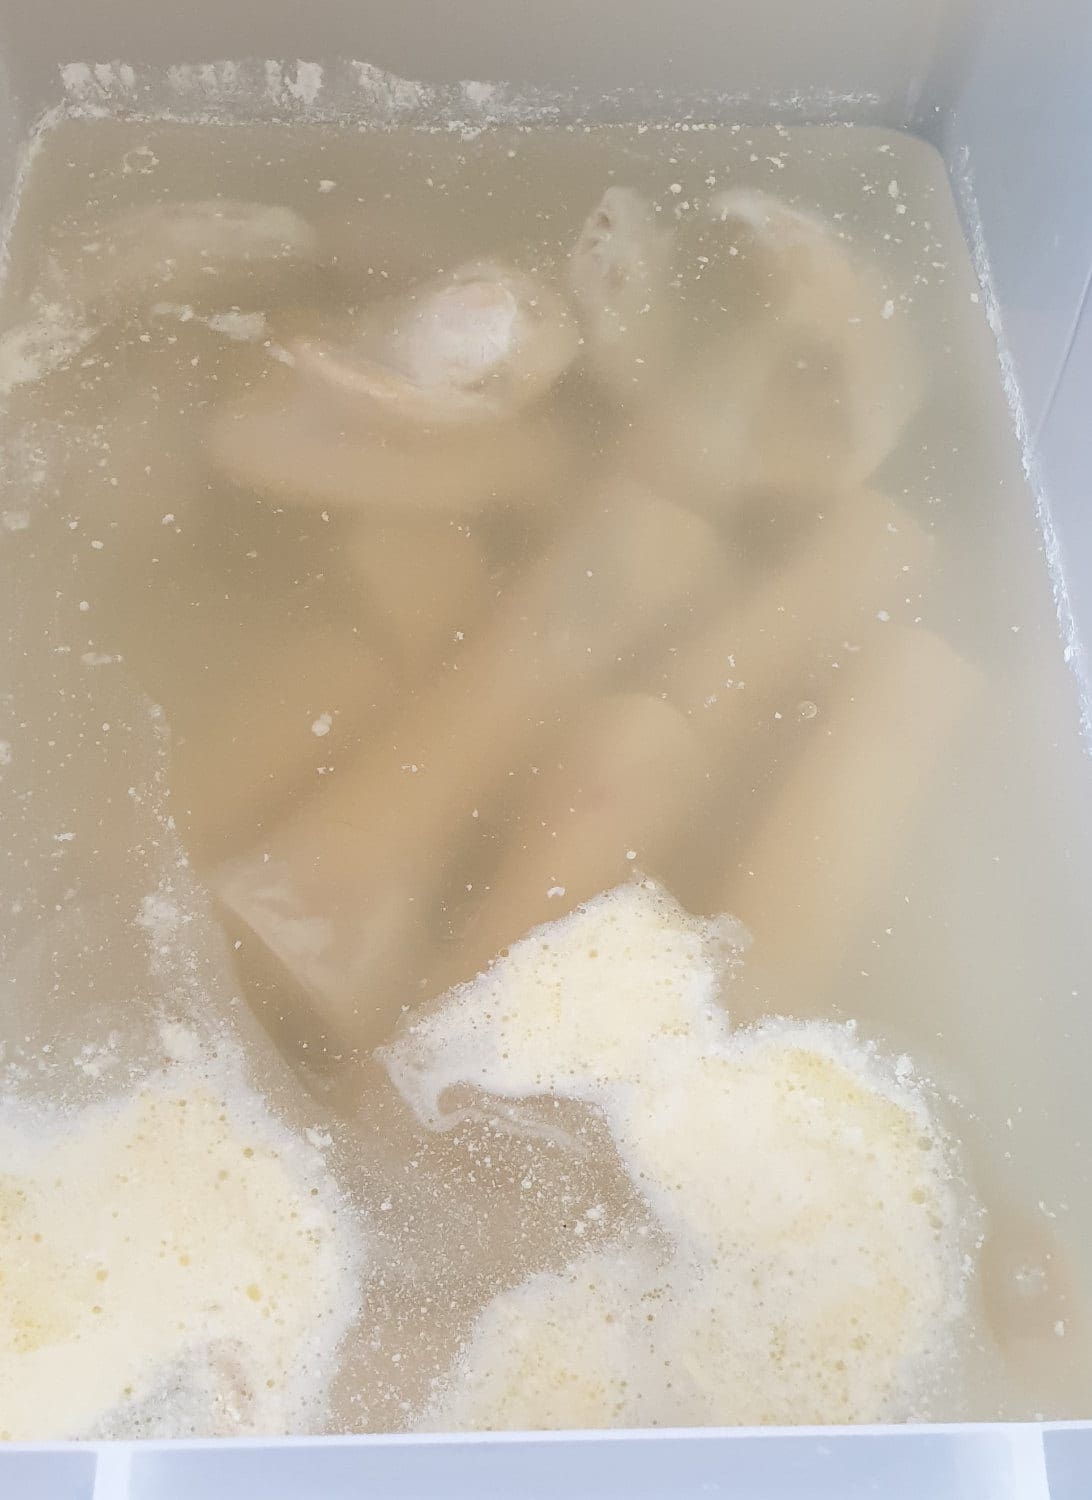
Bones soaking in detergent.
Once you feel as though the bones aren’t giving off any more oil, i let them air dry on a baking dish for a few hours (or overnight), I dry mine in the hot water tank cupboard for a few days. Once dry you can see if there is oil spotting or staining on the surface. If the bone isn’t opaque white then it is most likely still holding oil. Pop the bones in the water with dishwashing liquid solution and simmer again until the bones dry fully opaque.
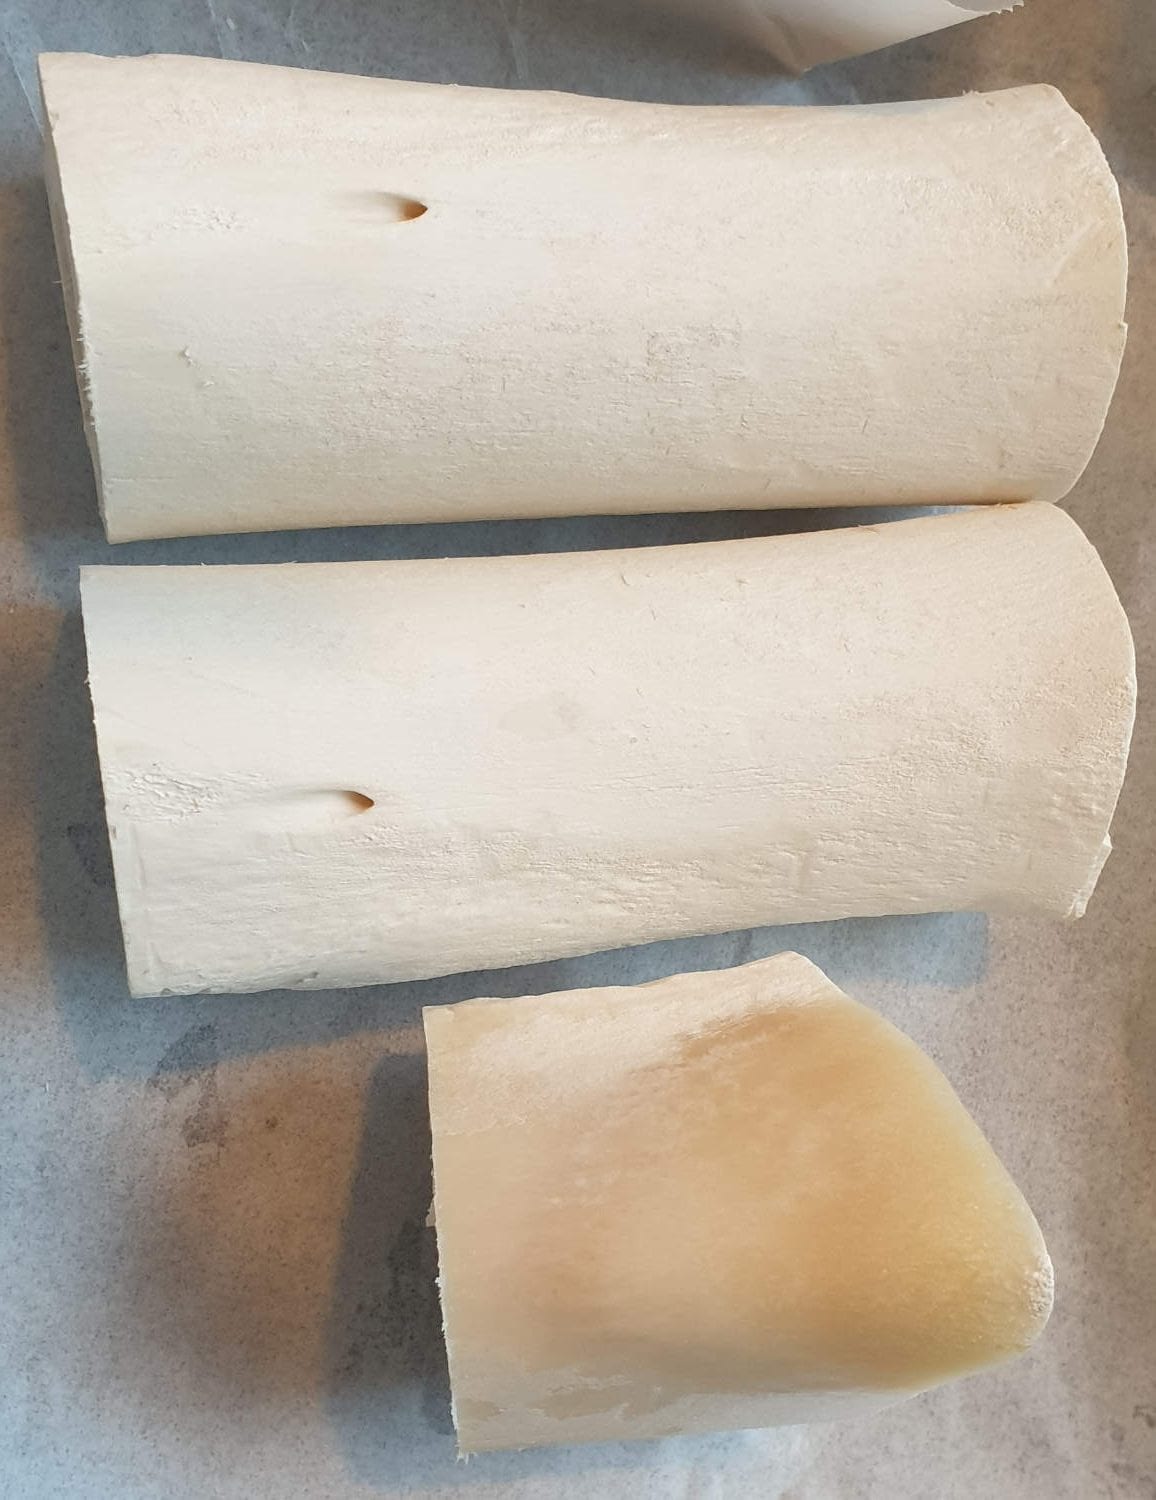
Bones on the top are ready for carving, bone on the bottom still has oil in it
When the bones are full cleaned and dry they are all ready for whatever you wish to do with them. Remember always wear a mask when working with bone as the dust is very harmful to breathe in!